
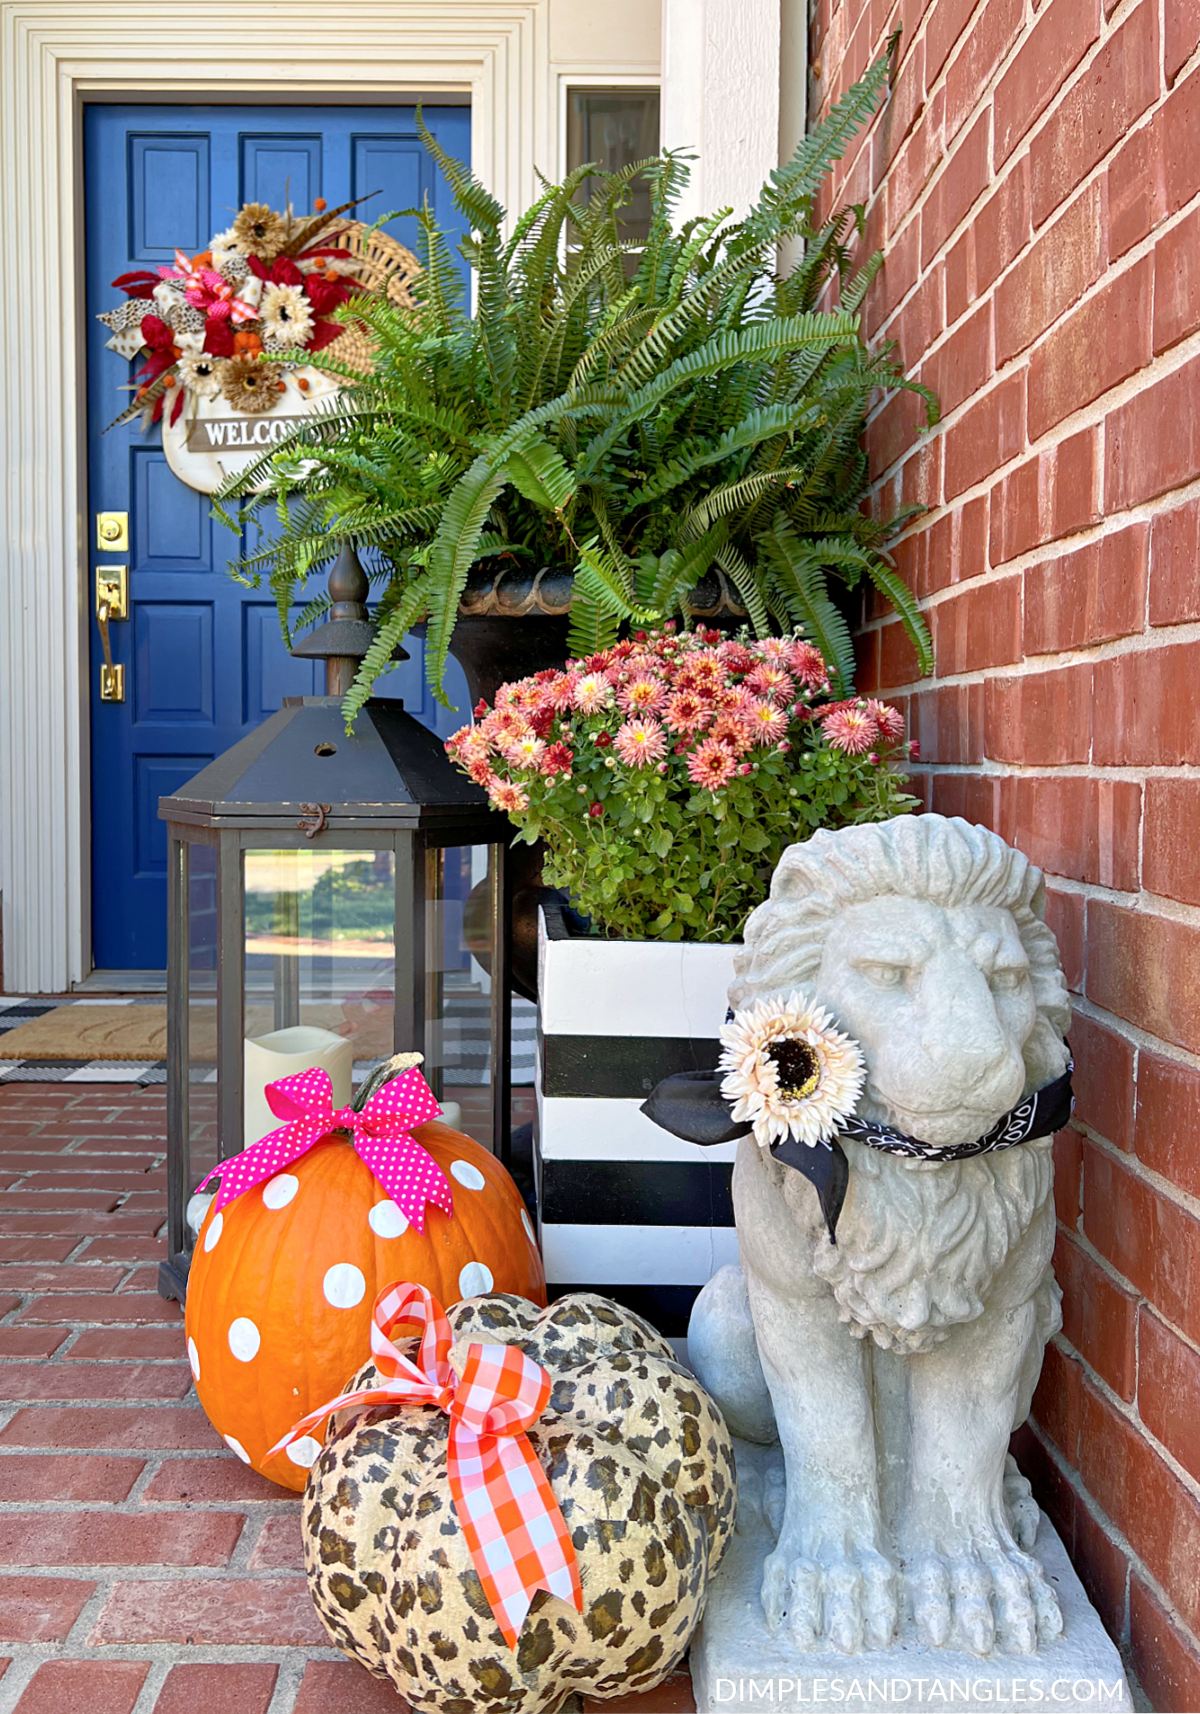
I recently made these cute leopard pumpkins for my Fall Porch this year and they were so easy! With just a few supplies and a few minutes, you can make these easy paper napkin decoupage pumpkins too! I love that this project is completely customizable by using a few paper napkins in whatever color or pattern you like.
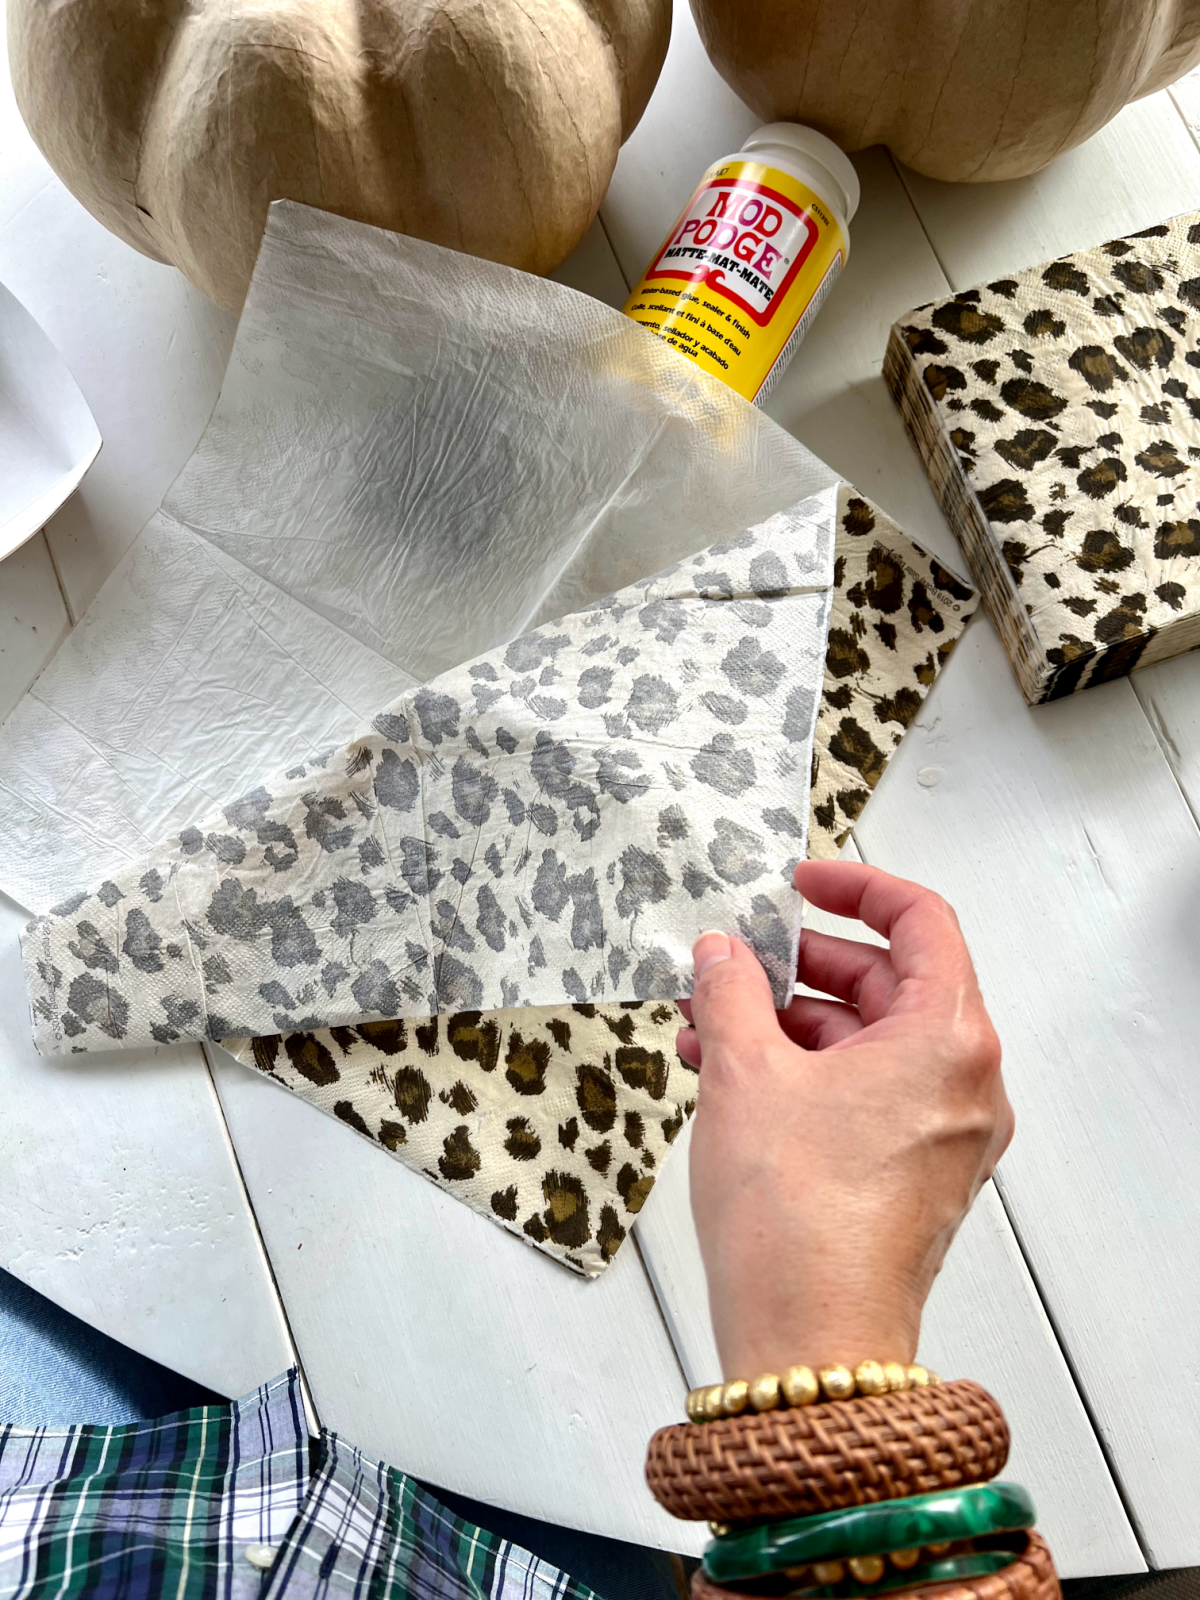
To start, you'll need some faux pumpkins, several paper napkins, mod podge, and a sponge brush. I used brown paper mache craft pumpkins from Hobby Lobby but any type of pumpkin should work. My napkins also came from HL but these are very similar if not the same. I didn't think about it before hand but it worked out really well that my pumpkins were tan, similar to the color of the napkins. If your napkins have a predominantly white background I'd recommend using a white pumpkin to start with or give it a quick coat of spray paint. If you're using a light colored napkin over a darker colored pumpkin, the pumpkin color will likely show through to some degree.

Start by carefully separating the two layers of the paper napkins. We'll only be using the printed layer. I think I used about 10 napkins and had plenty to work with for my 2 pumpkins.
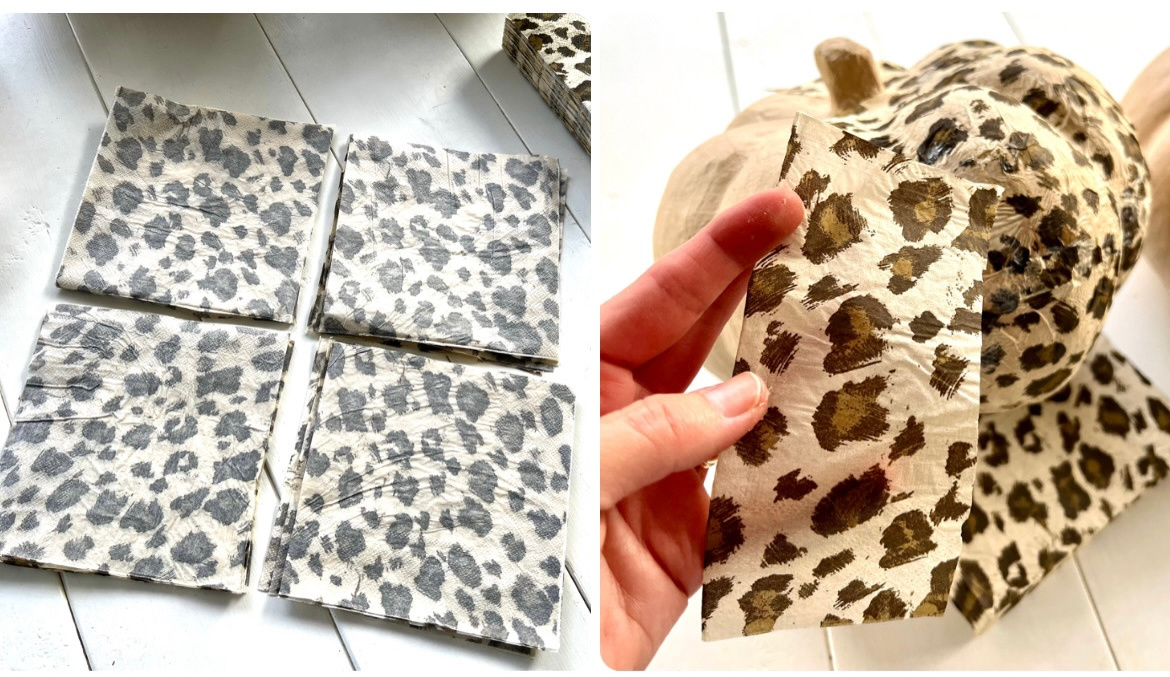
I stacked my single layer napkins together and then cut them along the folds to separate in to smaller sections. You'll probably want some pieces even smaller than that to fill in any blank spots. There's no right or wrong here on shape or size, you'll just need a variety of smaller size pieces to work with. Cut or tear to size as you work and see what you need.
Once you have some napkin pieces ready, coat a section of the pumpkin with mod podge.

Then, lay your first napkin piece over the glue, working in a small section at a time and following the contours of the pumpkin. Tuck napkin down into vertical pumpkin ridges as you go.

Don't worry if your napkin tears as you work! Just dab a little more glue on and stick it back in place. It will not be noticeable.

You can even layer on another little repair piece to the torn section if needed.

After the first section of napkin is affixed, add more modpodge to another section, slightly layering over the first piece. If there are odd corners and ends overlapping the section you've already done you can trim those off and stick down the edges.

Continue working your way around, adding another section of glue and more napkin pieces as you go.

Trim up an unnecessary overlapping edges once you've worked your way around the entire pumpkin and returned to your starting place.

I didn't cover the bottom of mine, but do so if you wish!

Lastly, cover the entire pumpkin with a coat of mod podge. Be gentle with the application, the wet glue on the brush can cause the napkin to tear. I dabbed mine on more than painting it in strokes.


It's completely normal for the glue to be cloudy white when applied. Don't worry, it will be totally clear when it's dry.

That's it! Let it dry (mine is propped on a tuna can 😂 so it doesn't stick to anything underneath) for several hours or overnight is best. Mine have been on my front porch for several weeks and have held up great! (Not sure how a lot of direct rain would affect them, we haven't had much rain and when I've expected it I've tucked them closer to the front door under cover.)

Let me know if you've ever done this project, it would be awfully cute with some blue and white napkins too!
Scroll left and right below if you like the thought but don't want to make your own, and for some other cute pumpkin themed items too!


Never miss a post!
Subscribe to Dimples and Tangles and receive notice in your inbox each time a new post is published. Click here to subscribe!

Great job, as always Jen! I've sprayed pumpkins to other colors and attempted your painted cross patch design years ago on the pumpkins. Similar to what you've done with pumpkins, in this feature, I've done with plastic Easter eggs! My goodness loved how they turned out! Give that a whirl and let me know what you think! =)
ReplyDeleteOh I love the cross patch design idea, cute!
DeleteI’m finally getting around to doing this! I have a question, what is the reason for separating the napkin ply? Thank you!
ReplyDeleteI think it just keeps the white layer from interfering with the color and design of the top layer, makes it easier to adhere the design layer, and gives a smoother finish than having an extra layer to bunch up underneath the design. I suppose you could certainly try it without separating!
Delete