
I recently did a quick project and while working remembered that I don't think I've ever shared this tutorial with you. This is a method I've been using for years to take large photo prints and give them a faux canvas finish that seals them and gives them some texture. I've found so many great large wall frames at thrift stores and garage sales, but they are often an unusual size and usually don't have glass with them. Glass can be expensive to get cut and installed (even if you DIY it), and often I find I prefer to frame larger photos without glass to avoid the glare it causes. So, this method of making a "faux canvas" photo print is easy to customize the size you need and affordable!

For the project, you'll need the frame you want to use, your photo print, a backer board for your photo, spray adhesive, a foam roller and tray, and some Mod Podge. I prefer the Matte finish for this project but if you want a glossier finish there are other options available. If your frame doesn't come with a backer board, I like to get a piece of thin hardboard (it's dark brown and smooth on one side, comes in a variety of sizes in the lumber department) from Home Depot, they'll cut it to the size you need for free! If you have some left over, save it for another project.
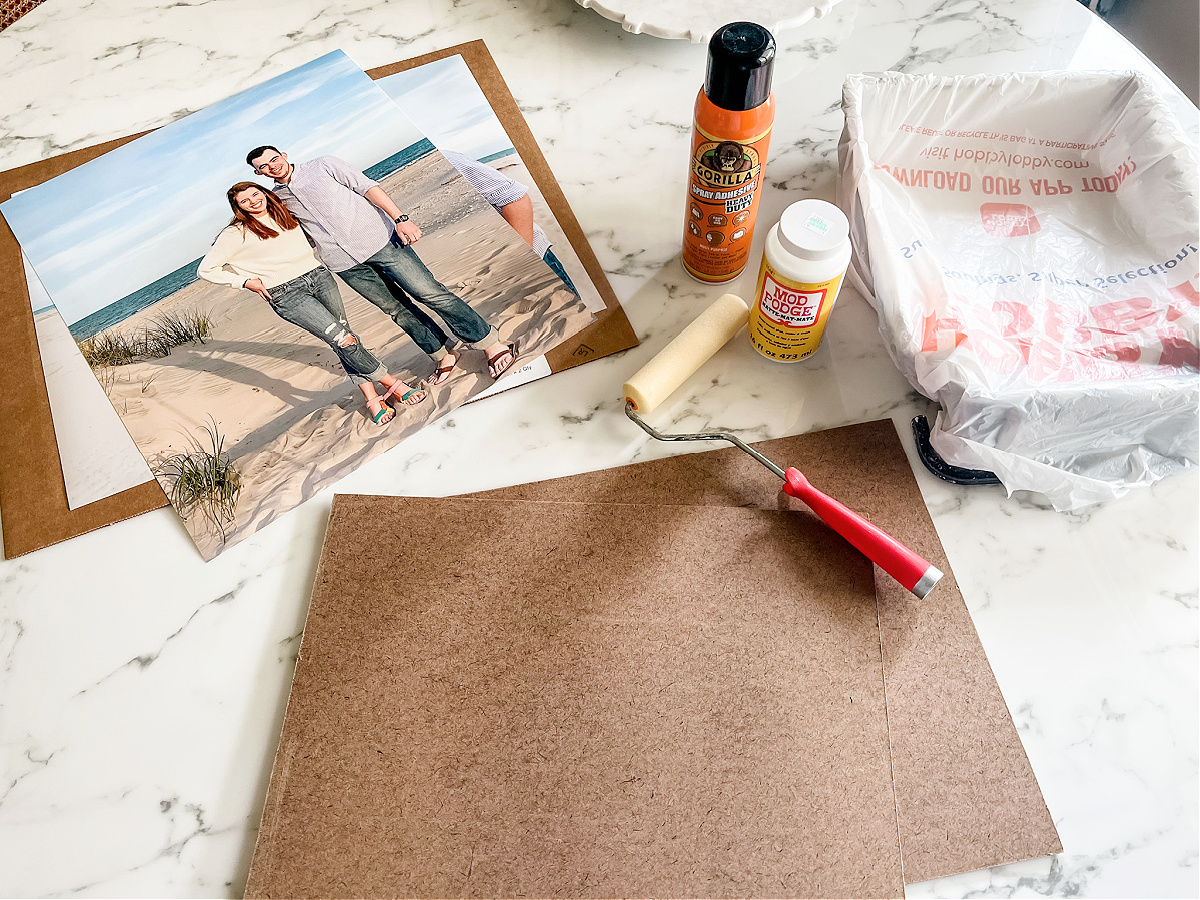
Tip: MPix is a fabulous photo printing company and they have more options of print sizes than I've seen anywhere else. If your frame is an odd size for the photo opening, check their options. Sometimes I have to get as close as I can and might order my print slightly larger than needed if they don't have the exact size, then I trim the edges to fit my frame.
Rather than a lot of still photos showing the process, here's a video of the project!
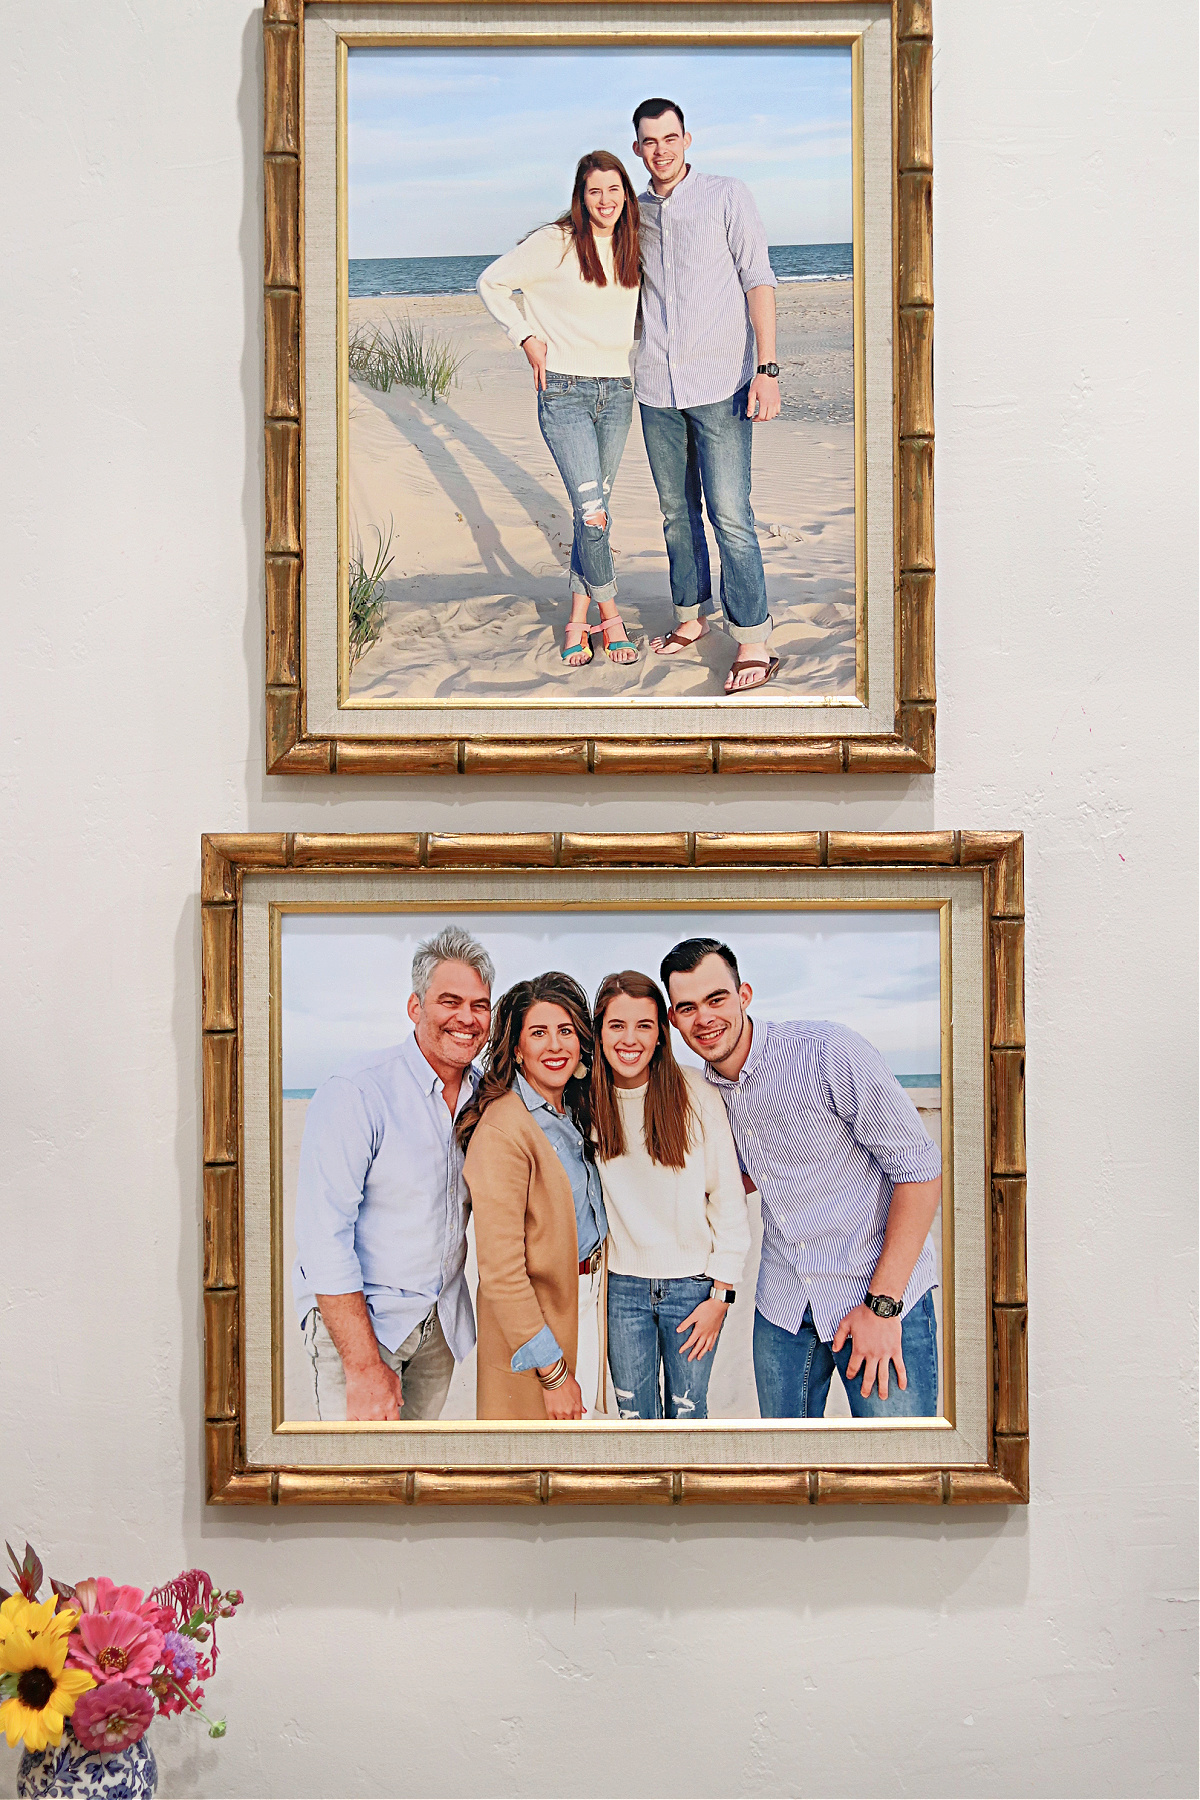
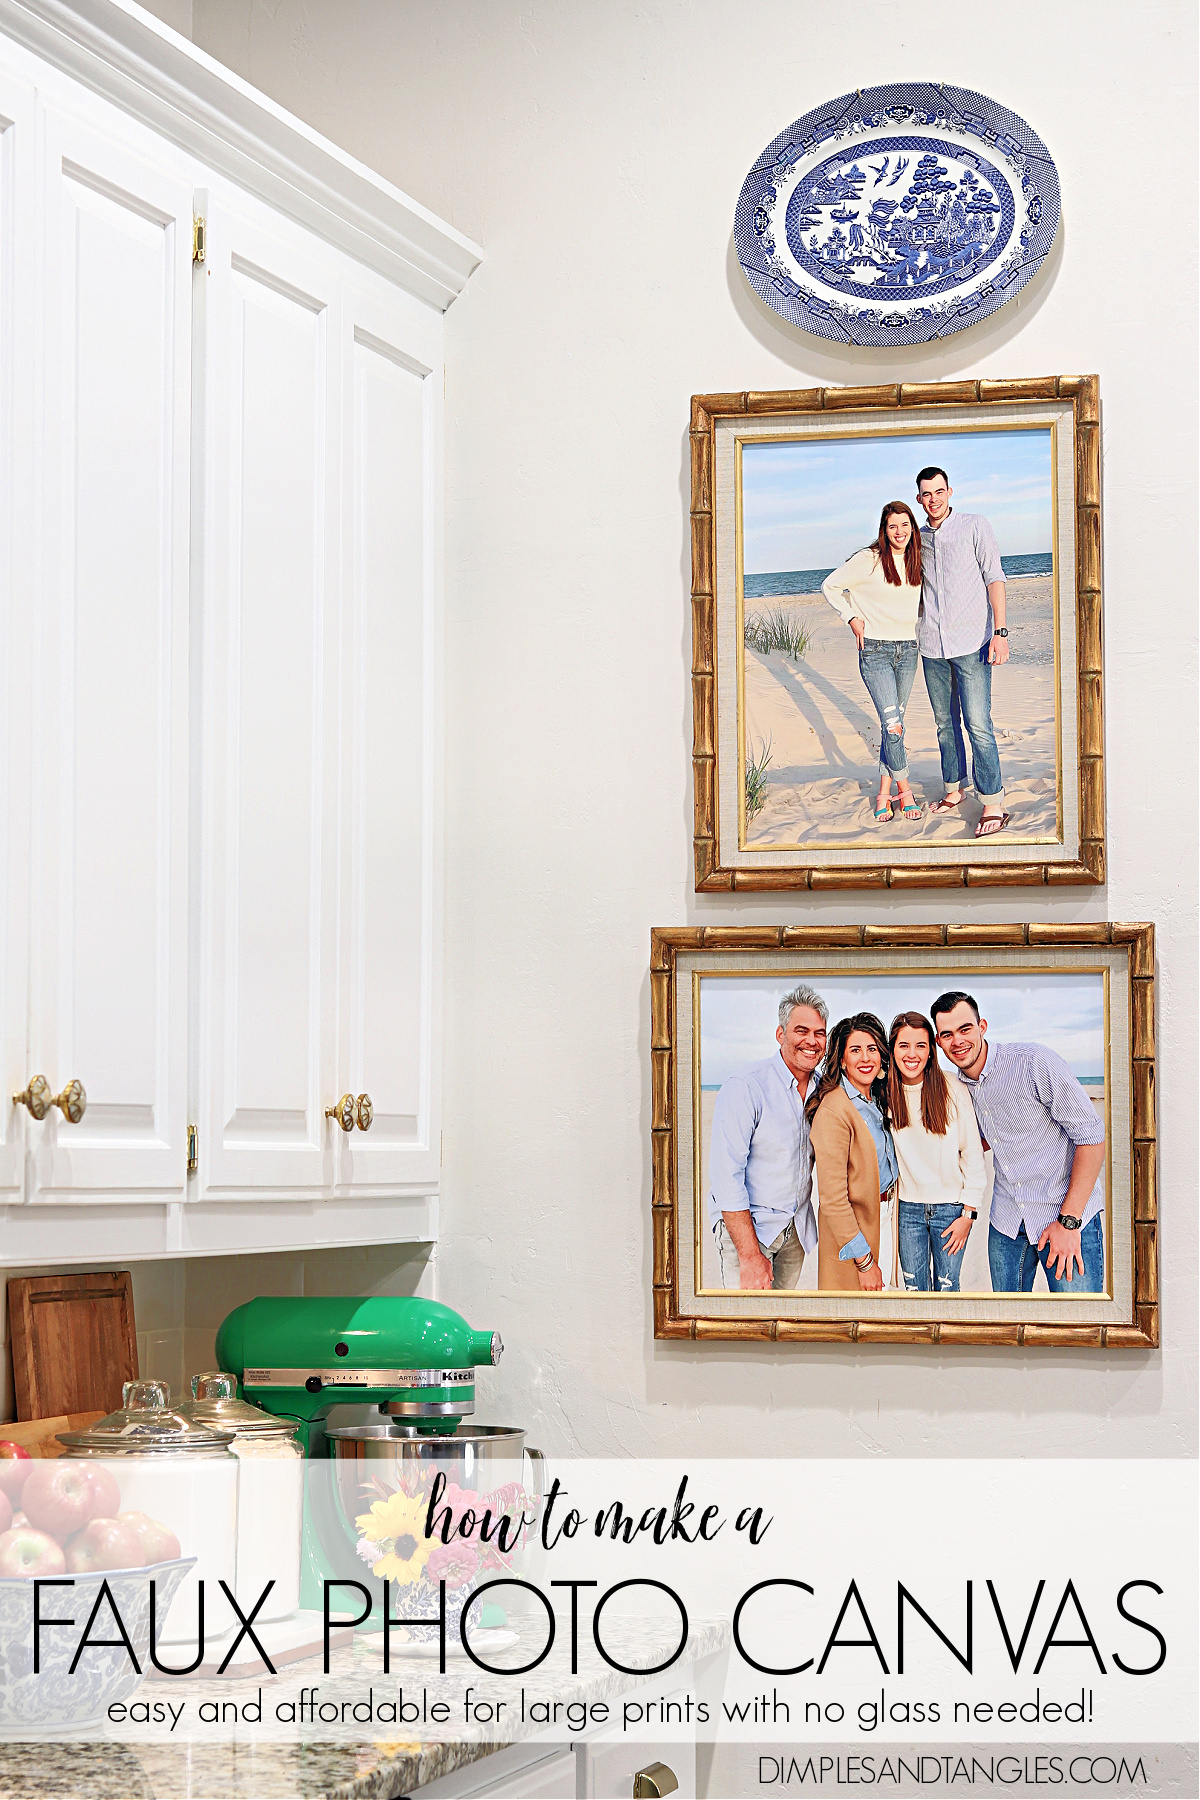
Finished and dry-

Here are a few close ups where you can kind of see the texture created, if you want a thicker texture do another coat or two, letting it dry between each coat.


Here's a summary of the steps-
1. Use the spray adhesive to attach your photo to the backer board.
2. Using the foam roller, apply Mod Podge to cover the print. Don't worry, it will be cloudy as you apply and clear up as it dries.
3. After you've applied a good coating, make one final pass with the roller going the same direction over the entire surface. Keep a light hand so you're not creating lines in the Mod Podge where the edges of the roller go across, make sure glue looks even across the surface.
4. Quickly look very closely- I mainly concentrate on faces/skin/light colored areas in the photo- to make sure any fuzz or dark particles didn't get caught in the Mod Podge. If so you can dab it out with your finger and go back over that spot lightly with the roller. Do it quickly before the glue starts to dry.
5. Once the Mod Podge is dry, if you want a thicker finish do another coat. I just did one on mine, just enough to seal it and give it some texture.
6. Let it dry completely and pop into your frame! If your frame doesn't have any hardware to hold the backer board in place, I like to use glazier points. You just press them into the frame around the back inside edge with a wide flathead screwdriver or something like a metal putty knife- I demonstrate the process in this post). If your frame is a composite, resin, or plastic material those won't work, I usually just hot glue the back in around the corners in that case.
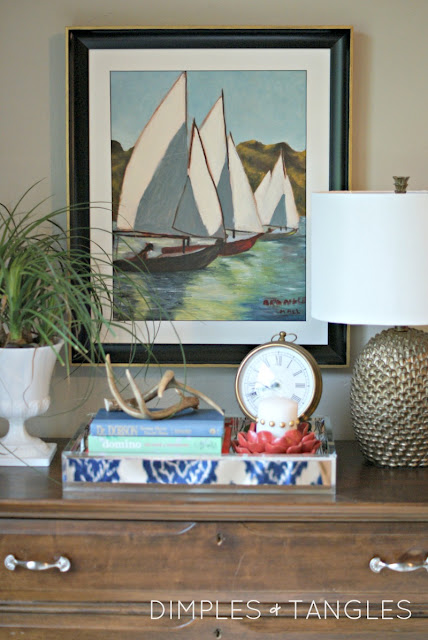
I also used the same process on this picture now in the hallway (which is super hard to photograph!). I picked up this thrifted frame but it was an odd size without glass. I ordered the print a little larger than I needed and trimmed it to fit the backer I had cut.


It's a pretty straightforward process that's budget friendly for larger pieces of art, let me know if you try it out someday!
See more Frame/Framing related posts here-
(Some of these projects are really old and the photos make me cringe... but you'll get the idea!)


(for photos that don't quite fit your frame)


Never miss a post!
Subscribe to Dimples and Tangles and receive notice in your inbox each time a new post is published. Click here to subscribe!

Ok, that’s brilliant!! Thanks for sharing! Nicole
ReplyDeleteIt's such a good trick, thanks Nicole!
DeleteLove this idea! Your post is so timely for me. Thank you so much for sharing! Would you please share where you purchased the bamboo-style frames....if they weren't thrifted?
ReplyDeleteThey were in fact thrifted, sorry! Here's a similar one that's available in a variety of sizes, though.
Deletehttps://rstyle.me/+RB-KBDHfSxWz8MVu0KJYcg
Thank you so much for sharing! The link didn't work....any suggestions?
DeleteLove this!! You are the bomb!!
ReplyDeleteThanks, hope it's helpful for you!
DeleteI love this idea but wondered where you purchase your photo prints in such large sizes? Please share that info. This is a wonderful idea!
ReplyDeleteHi! I shared that information in the post just under the photo of the supplies needed. They are a great company I've been thrilled with!
Delete