
My daughter moved off campus this year and is living in an apartment with a few other girls. (See her dorm room last year here if you missed it.) In August I shared a few spaces with you but wanted to share a full tour including their living room which I haven't posted at all yet. So let's begin the tour there!
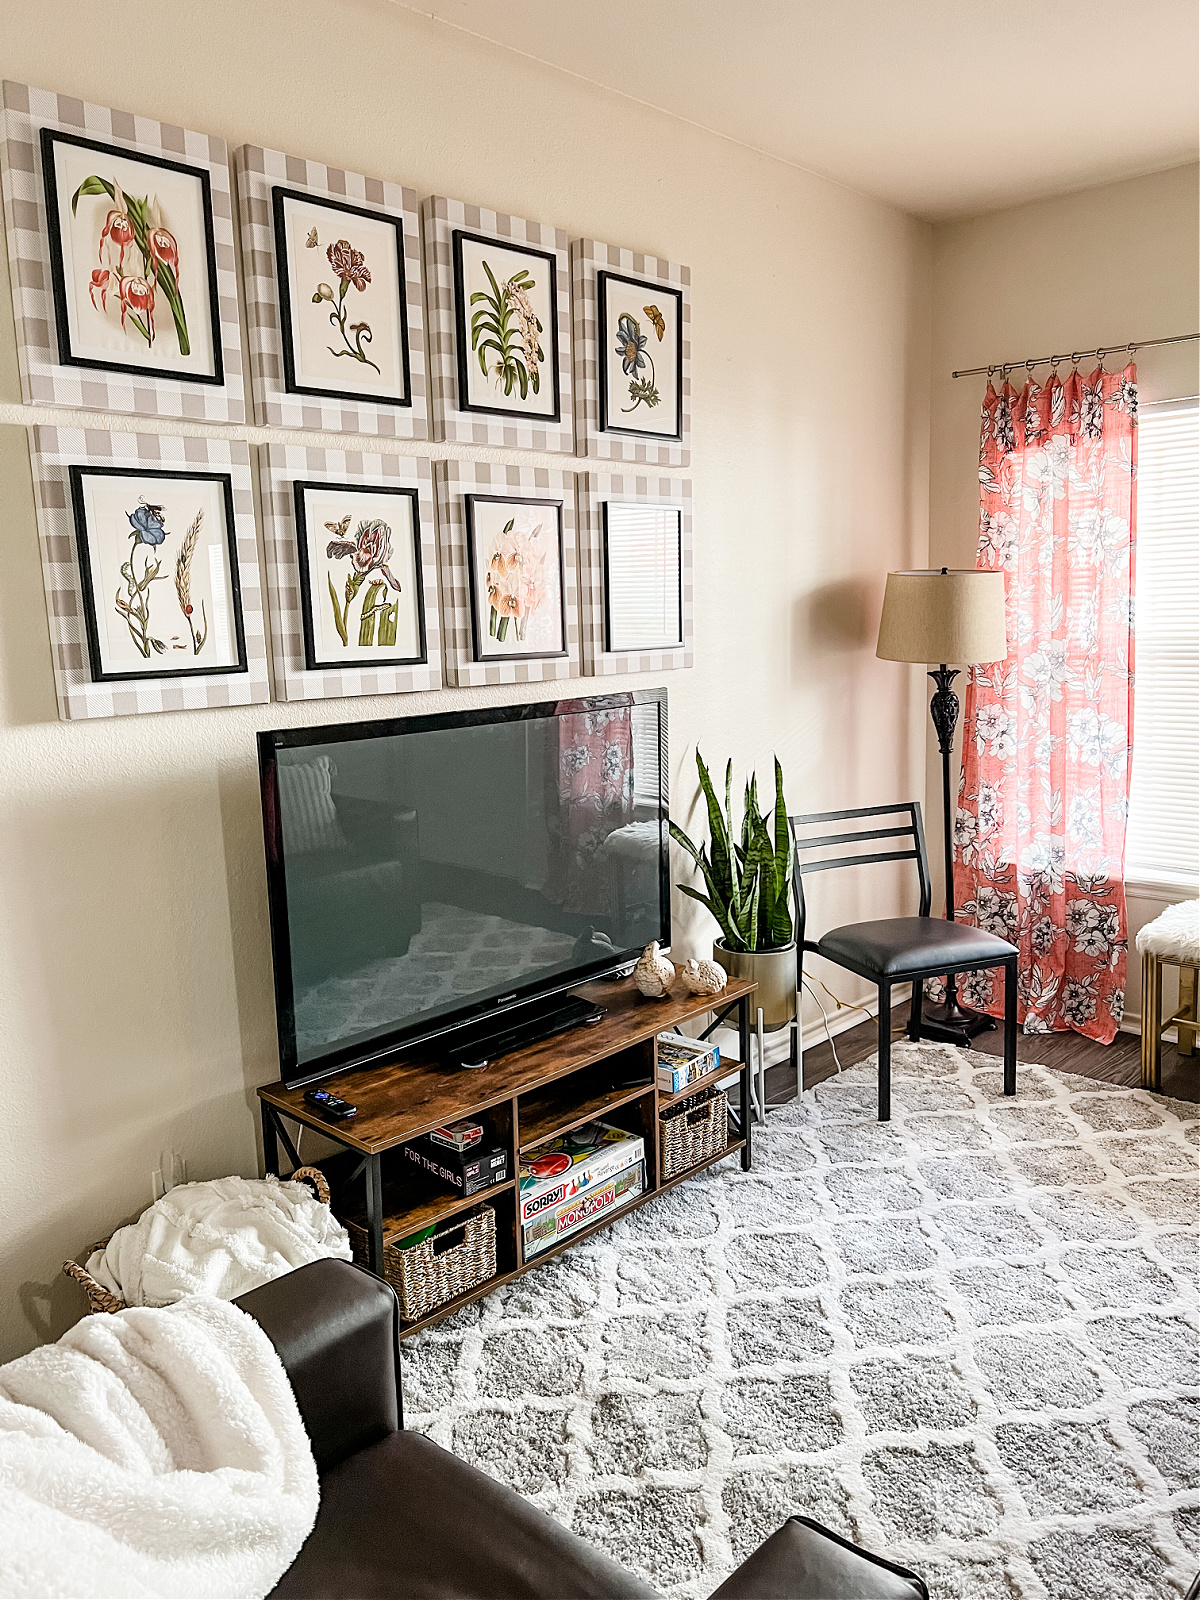
The star of the show in this room is definitely the cute botanical wall art. I still had lots of pages left in the book I used for my kitchen botanical gallery wall, so I cut a few more out. (My exact book fluctuates terribly in price, but you could use any botanical book or even search to print free pictures online to achieve a similar look.)

I picked up the gingham canvases on major clearance from the Summer collection at Hobby Lobby. They were only a few dollars each and I thought a grouping of them with art mounted on top would be cute and cost effective for the girls' apartment. (This old project that I did years ago gave me the idea to stack another frame on top.) Although I can't source those canvases for you now, you could get a similar look by wrapping fabric around a regular canvas or even a piece of wood cut to size. The design and color options are endless if you go that route! I also bought simple black frames from Hobby Lobby for the prints (this is a good set also) and mounted each print on a piece of poster board as a mat. A small drop of hot glue in each corner easily adhered the black frame to the canvas.

I originally ordered some neutral curtain panels but we all agreed that the room needed a bit more color, so this pretty pinky-coral set was perfect. They sold out really fast when I bought these, but I'm happy to see they've been restocked! They are so affordable I ordered another set after I took these photos so I could sew two panels together to make each a double width- they needed to be a bit wider to fully close across the window. The 84" length would have worked for this window but I ordered the 95" so I could hang them a little higher, and I did a quick hem thinking Emily might want to use them in a future home that might have taller windows. I found the rug at Ross but this one is really similar
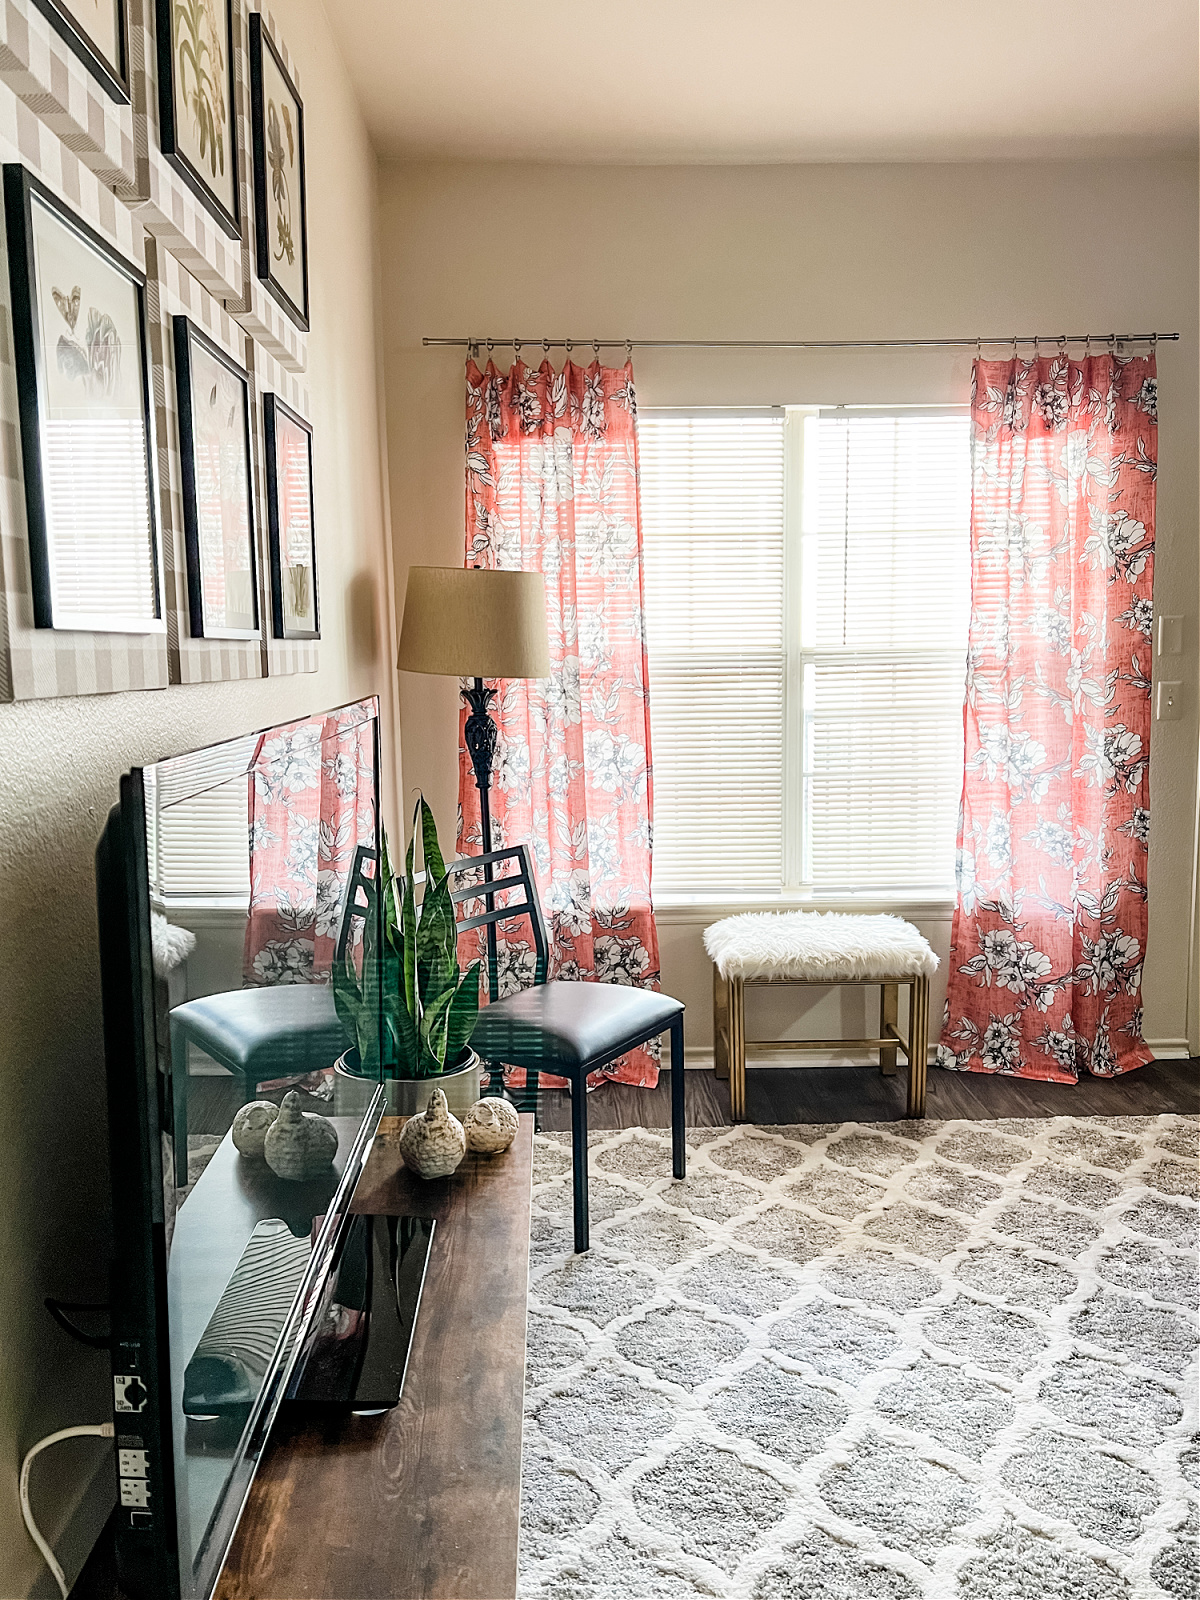
The apartment was furnished with most of the big furniture, but I found the tv stand off of FB Marketplace and brought a few smaller accent pieces from home. I also found the floor lamp in the corner on FBMP and thrifted the table lamp, then sprayed them both black to match the room.

These pillow covers matched the curtains nicely. The apartment has a pretty nice floor plan with the kitchen and living being one open area, there's a small dining table on the other end of the kitchen.

I thrifted a curtain panel that I was planning to cut down to make some cafe type curtains for the kitchen window, but that didn't end up being a practical idea. Instead I used the fabric to make this foam board covered cornice just to add a little something to the window. Planning to follow up with a quick tutorial on that for you. The cute sign was also a HL clearance find.

If you saw her bedroom posted earlier you might remember that we showed this marquee light over her nightstand, but decided it would be more fun in the main living area. I hung it here on a blank wall by their kitchen table with an old mirror I had stored (it used to be green!) and a faux wreath I picked up.

I think I made 3 trips back and forth between the move in and cleaning, decorating, then decorating some more. So this was at the end of a long, hot day, but we were so thrilled for her to be in her new space for the year!

I posted some photos of her bedroom a few months ago (here and here) but we since made some small changes and moved a few things around so here's another look. We did use some risers under her bed frame and this long simple bedskirt was perfect to cover all the stuff stashed underneath. 😉

This monogram art was a DIY project that I made for her room last year, but this year I painted the initials to add a bit more color. The curtain lights were a fun addition for some soft lighting, and she loves her new pinstripe comforter and cute pillow!

We hung her favorite cat print here when we moved the marquee light to the other room, and yes she still likes on old school loud alarm clock- ha!

I love the built in shelves and desk space that each of the rooms have, it really helps with storage!

We added a few decorative things to her shelves but for the most part it's all her "stuff" that she uses every day just on display, the smaller things are corralled in the baskets. She loves her desk chair- we moved the not-so-comfy one that came furnished out into the living room for an extra seat.

I snagged a pair of neutral curtains from a garage sale that were perfect for her window (after I cut off half the length and hemmed them!- similar affordable pair here). She decided she wanted to make this a little vanity area so I got her a makeup mirror. After I took these photos I told her to move her blanket basket to the other side of the room and scoot that chest down so she'd have more leg room there- worked out great!

No surprise, their apartment had a slightly musty odor so I ordered a set of charcoal bags to spread out through the rooms. They really do help absorb odors, you can throw them out in the sun for a few hours every month or two to reactivate them. This set came with some hooks so you can hang them as an option, such a cool product!

I picked up this chest of drawers from FBMP a few days before we moved her in. The price was right but someone hadn't bothered to cover it before painting a room white so there were paint splatters all over it and a few rough spots. I shined up the handles with my favorite brass polish and a toothbrush, and gave it a quick sand and new coat of stain (Here's a project tutorial with the gel stain I used). It turned out really nice and gave her some extra needed drawer space.

Another cute room ready for her second year, sure do love this girl!

I have one more "college" related post to share with you that has some quick tutorials and tips that I used in these spaces. Stay tuned for that soon!
Never miss a post!
Subscribe to Dimples and Tangles and receive notice in your inbox each time a new post is published. Click here to subscribe!

Our college gal has graduated. Her dorm and apartments were fun for her to decorate. She's an art major who only wanted my approval as she shopped and we considered cost.The spaces are SO much better than past years with myself and our older kids. You have created a wonderful space! Having a nice space will make her days better!
ReplyDeleteI did not mean to comment as Anonymous. Have a good day.
DeleteI love how do you gave warmth and personalization to the standard furnishings that come with these college apartments! Great inspiration I’ll be sure to use when my daughters are out of campus housing!
ReplyDeleteI remember so well doing this for our daughter and I enjoyed it so much, just like you do. We still talk about that first room in WMU and then when they moved into the little house. It took lots of work on that one but I wouldn’t have missed it for anything!
ReplyDeleteDo you have the link for the pink shams?
ReplyDeleteI love your updates about your beautiful family. I miss my family now, on the other side of the country! (sniff)
ReplyDeleteI LOVE YOUR PANTS!!! Please post details soon! Love, Allie
ReplyDelete